Timelapse Assets
Views
Actions
Namespaces
Variants
Tools
Creating The Asset
Since the asset must show the effect of time, we need to make an animatable group with a time driver that will take from 'creation' to 'death' though in some cases we will only need a subsection of the total lifetime of an object. For example, a security camera may be installed, operate for a while, age and rust, and finally cease function and be removed. The rig for the camera, in addition to controlling (for example) the swivel of the camera head, must have a property that can control the age of the camera in those stages. It's easiest to break up this workflow into steps.
Modeling
This should resemble normal assets but there are some differences.
- Only use mesh objects for render-able parts of the asset; this is for the meshcacher later. This means if you need to use a curve with bevel, instead use a curve modifier on a mesh.
- You may need to make multiple 'stages' of the meshes, if there are changes that other methods would be difficult to control. It's easier to start from a main stage - something that is either undamaged, or lasts longest in the shot, and modify it to make other stages.
- If meshes will only be visible for a short period of time during the timelapse, don't give them a lot of detail - and they probably don't need an animated material.
Animation
Next step is to animate the model/s. Don't worry too much about rigging/linking, here are some helpful hints:
- shapekeys are nice for either specific changes, or for general dishevelment
- lattice modifiers are nice because they can apply to multiple objects, you can then use a shapekey or other modifiers to affect the lattice
- the modifier stack is your friend!
- you can use mask modifiers to hide/unhide bits of your model, or booleans with animated cutters (but be careful, they're finicky)
- direct animation (loc rot scale) should be rigged first - you can use armatures, hooks, any kind of modifiers.
- have fun, be creative!
Shaders
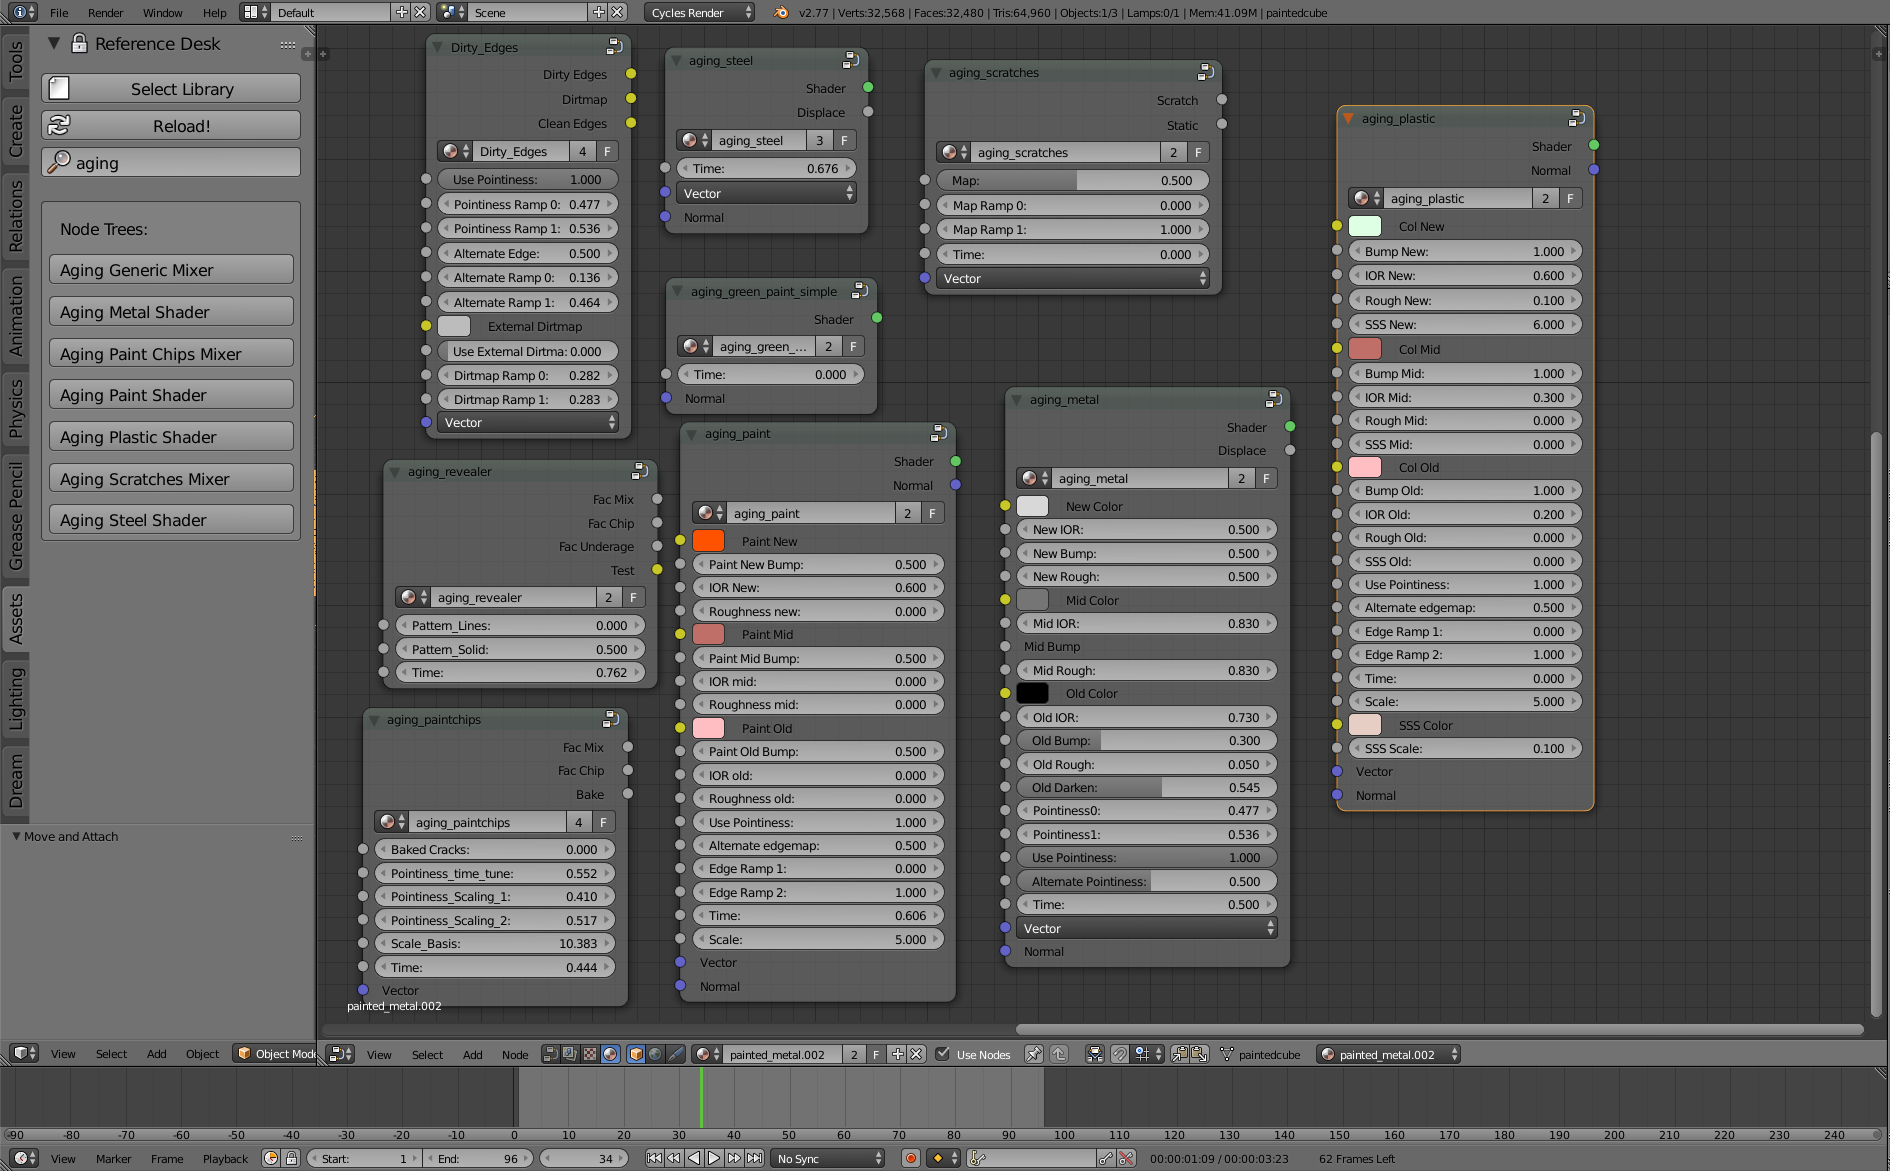
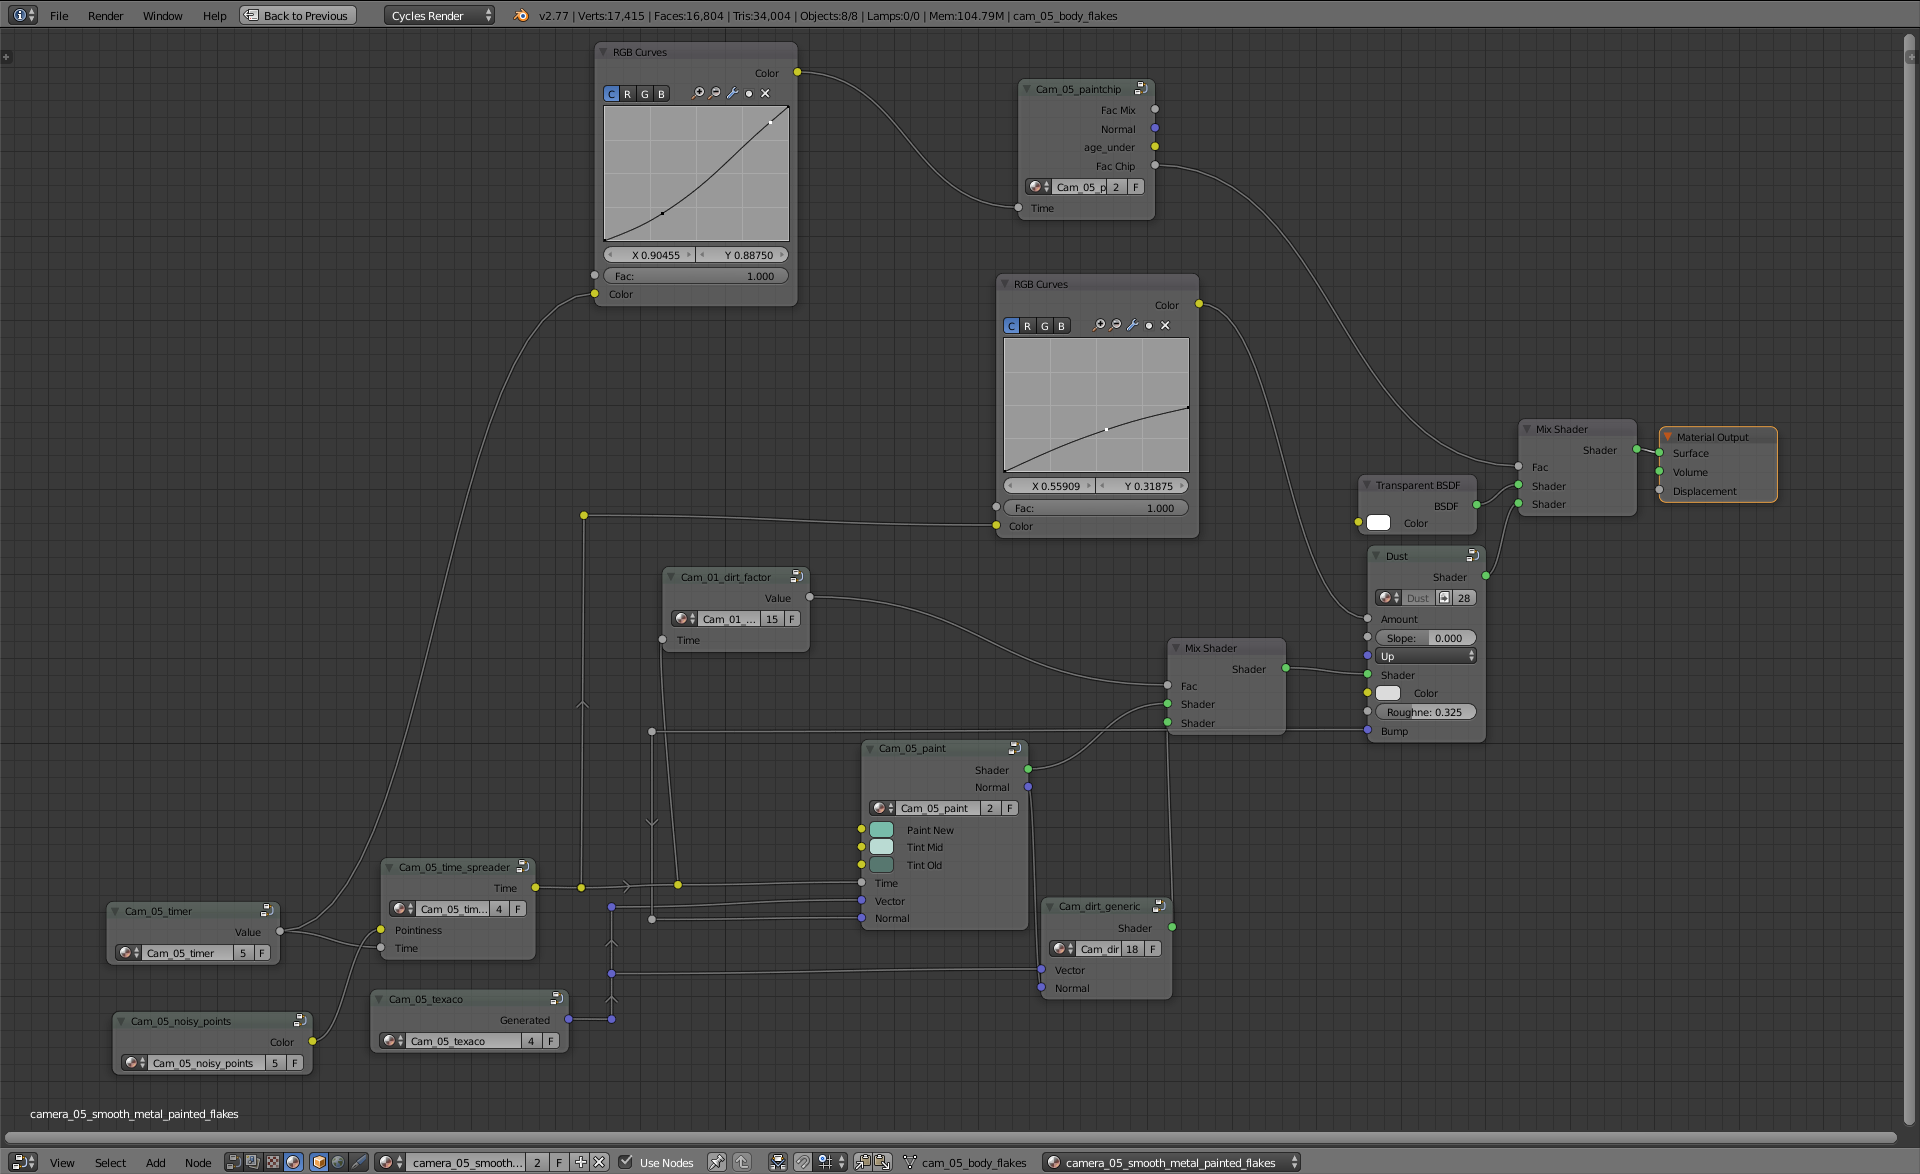
Shaders might be the trickiest bit , the thing to remember is to think about how the material changes over time, not just fade it from 'old' to 'new' – the result will be either too subtle to see or somewhat fake looking if sped up. There's a growing library of timelapse nodes that should help with this – also if you end up creating something particularly cool, we can add it to the library. The library shaders also have a built in 'time' input, so you don't have worry about the aging as much. You can access them from reference desk by searching on 'Aging' and then shift-a adding the node group into your material.
- Animating the contrast of a brightness contrast node can give the appearance of a texture 'growing' or shrinking over time
- The same can be done (with more control) with a ramp node, but ramp nodes don't allow inputs - Timelapse toolbox can fix this.
- Think of 'plugging in boxes' layering groups on top of each other - dust, dirt, cracking paint, rust, cracks, etc layering on top of each other.
Note: You don't have to make your materials modular: you can just animate them any old which way, and then, when you use timelapse toolbox to drive your animation in the 3D view, but it will non trivial to reuse bits from them later. This might become important if you are building variations on one material for the same asset/assets, or if you are making shaders for a library of node groups.
Rigging (timelapse)
Create an armature object (this should be the same one you use to control any non – timelapse animation of the group) and pick a bone that will be the driver for all the timelapse, and add a custom property to it – the name 'time' is quite appropriate. Then on to timelapse toolbox!
Timelapse Toolbox
Timelapse toolbox contains all the tools you need to convert your local 'in asset' animation, into driven animation, where all time based animation is set to a property on a single bone.
Asset-izing
Once Rigging / modelling/ shading is complete, refer to the Creating a linkable asset, blendflakes, Reference_desk, etc. to make this easy and controlled to use.
Use and Caching
The use of these assets in anim files is identical to most, with one exception. Start by adding the asset via reference desk or direct linking. I'll encourage and disseminate a proxy creation script for the assets, to avoid having to manually press ctrl-alt-p and make the proxy. After proxying, time / aging is achievable via the rig, as well as any additional animation required. If you need more than one copy of an object (with different animation) you'll need to use the meshcacher addon, which allows creating chaches of your animation, in order to create new ones.

